
Das Pflanzen eines Baumes ist im Grunde einfach, doch wie so vieles, das einfach scheint, sollten einige Details beachtet werden, um den gewünschten Erfolg zu haben.
Aufforstungsprojekte von Naturefund unterstützen!
Die richtige Wahl des Standorts ist wichtig für den Start des neu gepflanzten Baumes. Wenn Sie die Möglichkeit haben, wählen Sie am besten einen Ort gleich neben einer anderen Pflanze, mit welcher der Baum harmonieren kann. Die Pflanze ist wie eine Amme, spendet dem Baum Schatten und dient als Windschutz. Auch das Wurzelumfeld profitiert, wenn viele verschiedene Pflanzen dicht beieinander wachsen. All diese Vorteile macht sich der Dynamische Agroforst zunutze und beschleunigt dadurch das Wachstum. Falls keine andere Pflanze da ist, können Sie eine oder auch mehrere schnell wachsende Pflanzen als zukünftige Ammen direkt neben dem Baumsetzling pflanzen. Falls auch das nicht geht, dann sollten Sie zumindest Mulchmaterial um den neuen Baumsetzling verteilen.
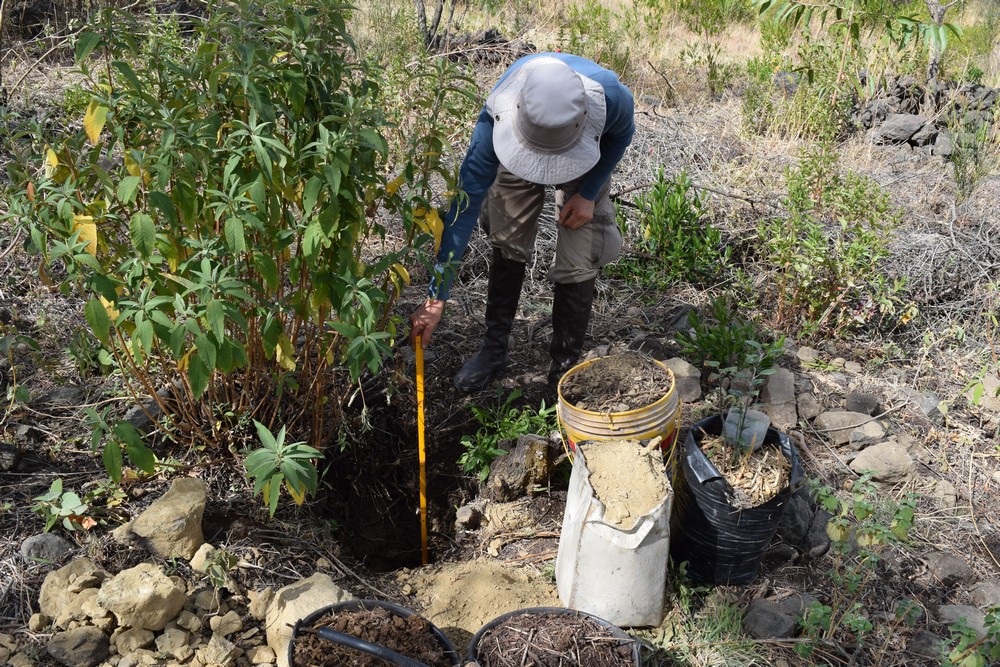
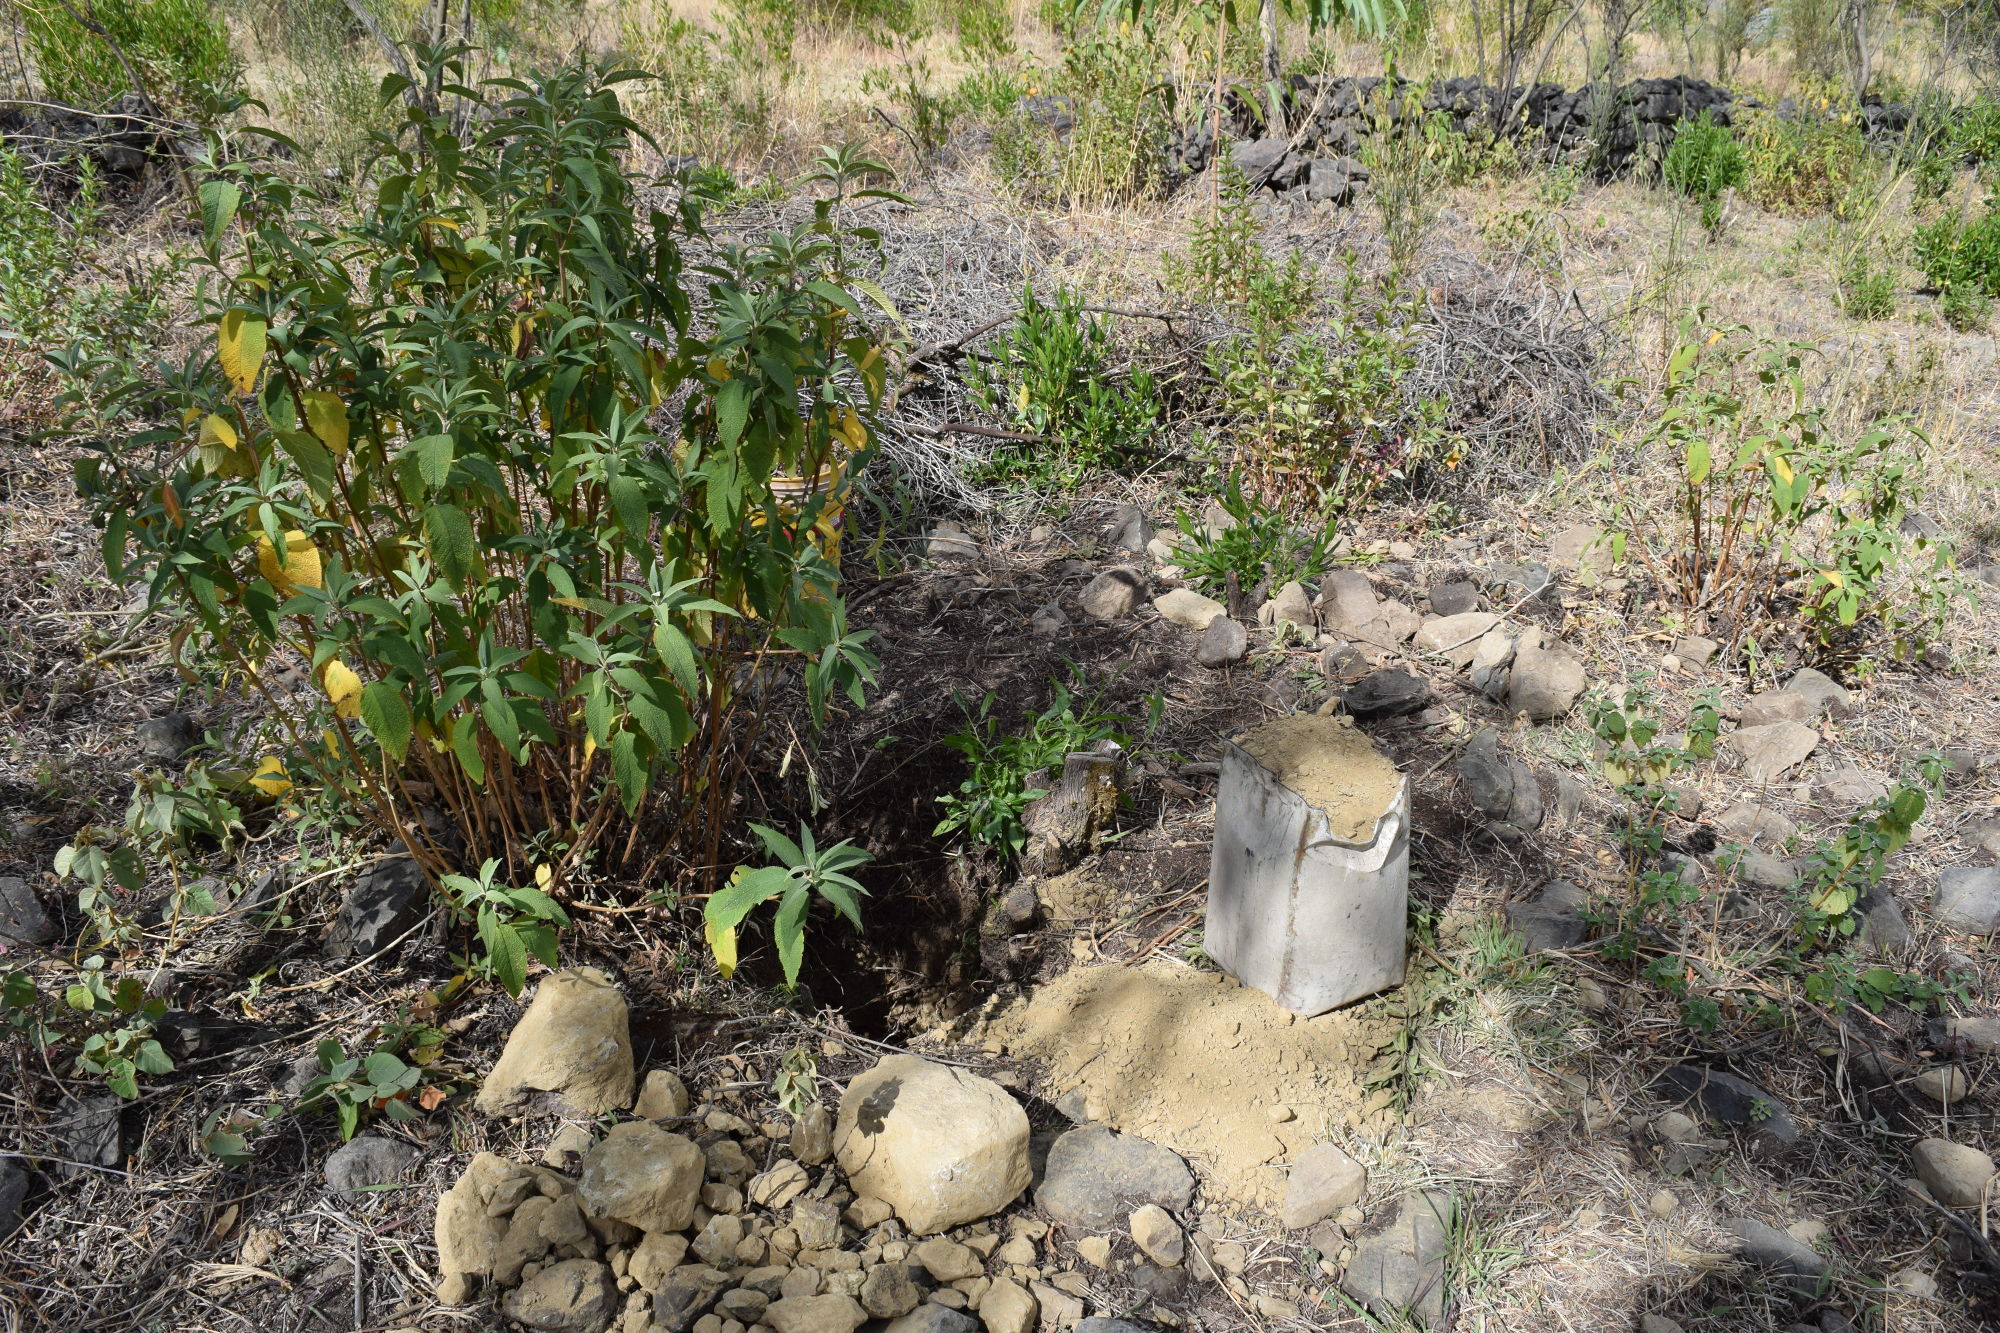
The barren, stony, hardened soil on the ground, the larger the root ball. The more you have to dig out the planting hole. Between 50 x 50 cm and 100 x 100 cm are optimal, meaning planting hole diameter and planting depth.

Remove all stones from the planting hole. The easier the start for the tree, the less drag the roots impede. Especially larger stones cost the tree a lot of strength and by removing them you accelerate the growth.

Larger stones are sorted out of the excavation. Then the excavation is mixed with a few shovels of compost, fermented manure, rotted leaves and whatever else is left of organic matter. For very loamy soil, it is advisable to mix it with a few shovels of sand to make the soil more permeable to water with. If the soil is very sandy and nutrient-poor, it should therefore receive a greater amount of compost, manure or other organic material. The mixed plant substrate must fill the planting hole almost completely. In case of problems with vole, protect the roots with a barrier, eg. B. of non-galvanized wire.

If you can, add earthworms to the substrate. They are the best thing that can happen to the earth around the tree. On the one hand the soil is regularly loosened and on the other hand they enrich the soil with natural fertilizer.

Some are bare-root, the others are supplied with soil around the root ball. Here only the variant with soil around the root ball is to be described. In any case, the root, whether naked or protected by soil, they should be treat very carefully. Because in them sits the head and heart of the plant (see also Stefano Mancuso: The intelligence of the plants). Some species are very sensitive to root injury; they do not want to grow properly then. Nevertheless, it is very important to cut the roots protruding from the root ball with a sharp rose scissors. This stimulates root growth rather than when the roots are pointing upwards after planting or curling under the plant.

In the substrate of the plant hole you should made a hole that is slightly narrower at the bottom and slightly wider at the top and definitely larger than the root ball. There the plantlet with its root ball is put into it. ATTENTION: The soil on top of the root ball must be at the same height as the surrounding area outside the plant hole. So the plant should not be set lower than the surface soil of its root ball reaches. The substrate is now filled around the root ball so that the plant stands straight and firm.

Now, the earth is set around the plant, forming a ring that can absorb the irrigation water, without the water making the trunk of the plant wet. ATTENTION: If the soil is very heavy and loamy, you should not tread the ground, otherwise it will be difficult for water to get into the planting hole.

The newly planted plantlet is watered with a watering can. The irrigation water is slowly added to the ring around the plant. We recommend at least one watering can, in dry weather it can also be quiet up to three full watering cans.

The planting is finished with a mulch cover of the plant hole, or a tree slice. ATTENTION: The mulch material should not touch the stem of the plantlet, ie keep a hand wide, or 10 cm distance to the trunk.

In regions with frequent and violent winds, higher-growing young trees require support. These are about 20 cm away both on the right and on the left side of the trunk, ram into the ground and wrap around with a wide band, so that the trunk is held in the middle of the band. In our example, the neighboring plant and the biomass around the tree provide sufficient protection.
